
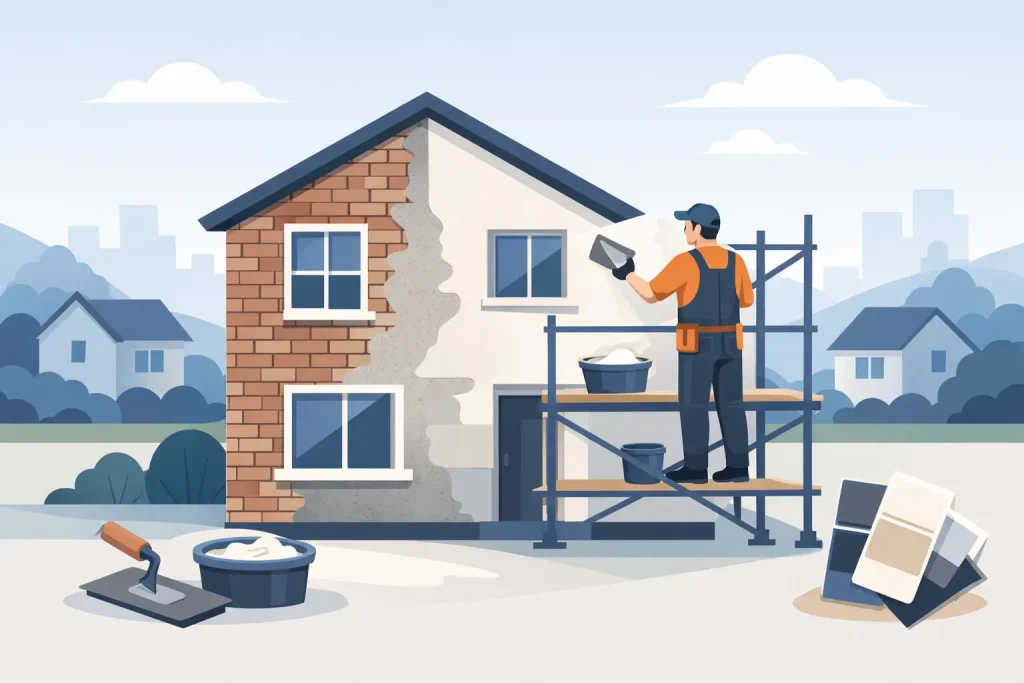
Cracks around windows, stained patches, blown areas and a tired-looking finish are not just cosmetic problems. They can be signs that the outside of the property is no longer protecting the wall as it should. This guide to exterior house rendering explains what to look for, what good preparation involves and how to choose a finish that suits both the building and your budget.
What exterior rendering is designed to do
Exterior render is a protective coating applied to external walls. It gives a property a clean, uniform appearance, but its real job is to help manage rain, wind and everyday weather exposure while protecting the underlying masonry.
A well-finished rendered wall should look straight, neat and consistent, with clean detailing around windows, doors, pipes and rooflines. It should also work with the wall beneath it. That is why rendering is never simply a case of applying a new coat over an old surface. The condition of the existing wall, the cause of any damage and the chosen material all matter.
On older properties, render may have been patched repeatedly over the years. On newer homes, the issue may be poor previous application, movement cracks or water getting in around poorly sealed details. The right approach depends on what is happening behind the surface, not only what can be seen from the pavement.
When does a rendered wall need attention?
Hairline cracking does not always mean the whole elevation needs to be removed. Some small cracks are surface-level and can be dealt with as part of a repair programme. Wider, recurring or diagonal cracks need closer investigation, particularly if they appear around openings or are accompanied by loose render.
Hollow-sounding areas are another warning sign. If render has lost its bond with the wall, it can eventually break away. Water staining, algae growth and bubbling paint can also point to moisture being held within the wall or entering through a defect above.
Look closely at the details as well as the main wall face. Failed sealant around windows, damaged copings, leaking gutters, cracked sills and poorly fixed downpipes can all direct water onto or behind the render. Applying a fresh finish without sorting these faults first often leads to the same problem returning.
A guide to exterior house rendering starts with preparation
Preparation has a direct effect on how long a render finish will last. A smart-looking surface can be achieved quickly, but a durable one requires the background to be sound, clean and properly assessed.
Loose or failed render must be removed back to a firm edge. The exposed masonry should then be checked for damage, dampness, salts or defects in the pointing that could affect adhesion. Repairs need time to cure where required, and the wall must be suitably dry before the next stage begins.
The surface is then prepared to suit the system being used. This may involve cleaning, applying a primer or bonding coat, fitting beads to corners and edges, and protecting windows, paths, roofs and neighbouring areas. Good masking and tidy site protection are not minor details. They make a real difference to the finished job and to how smoothly work progresses around an occupied home.
The weather also matters. Very cold, wet or excessively hot conditions can affect curing and application. A professional installer will plan the work around suitable conditions rather than force a finish that may fail prematurely.
Choosing the right type of exterior finish
There is no single best render for every property. The right finish depends on the existing wall, the level of exposure, the desired appearance and whether the work is a local repair or a full re-render.
Traditional cement-based render can provide a hard, familiar finish when correctly specified and applied. It may be suitable for certain masonry backgrounds, but it can be less forgiving where movement is an issue. If the wall is already prone to cracking, simply applying another rigid layer may not be the best long-term answer.
Modern thin-coat systems are often selected for their consistent colour and decorative finish. They need a well-prepared, compatible background and should be installed as a complete system, rather than mixing products without clear guidance. The finish can range from fine and smooth to a more textured appearance, depending on the property and the customer’s preference.
Cork spray finishes are another option worth considering, especially where homeowners want a flexible, decorative coating that can help improve weather resistance. Applied correctly, cork spray can offer a lightly textured finish and may help reduce the appearance of minor surface imperfections. Its suitability still depends on the condition of the wall and the preparation beneath it. It is not a shortcut for unstable render or unresolved damp problems.
Colour choice should be practical as well as personal. Very dark colours can show fading or heat-related movement more readily on exposed elevations, while pale finishes may show dirt in high-traffic or shaded areas. A colour that complements brickwork, roof tiles, window frames and neighbouring properties will generally age better than a choice made from a small sample alone.
Repair, overcoat or full removal?
A small isolated area of damage can often be repaired if the surrounding render is firm and the original problem has been fixed. The repair should be blended carefully in texture and level, although it is not always possible to make a patch completely invisible, particularly on weathered walls.
Overcoating can be appropriate where the existing surface is stable, clean and compatible with the new finish. However, this decision should not be based on appearance alone. Any loose sections, trapped moisture or widespread cracking beneath the surface will remain a risk if they are covered rather than dealt with.
Full removal is usually the sensible route when render is extensively hollow, heavily cracked, contaminated or failing across large areas. It creates more preparation work at the start, but it allows the wall to be inspected properly and gives the new system a sound base. For many properties, this is the better value option over the life of the finish.
Details that separate a professional job from a quick one
The large wall areas attract attention, but the details are where workmanship shows. External corners need straight, secure beads. Window and door reveals should be even, with clear lines and appropriate movement detailing. Render should not bridge drainage gaps, cover air bricks or create a route for water to sit against frames and sills.
The bottom edge of the render also needs careful consideration. Keeping the finish at the correct level above ground helps reduce the risk of splashback and moisture problems. Paths, patios and raised flower beds can change the effective ground level, so these should be assessed before work starts.
A professional quote should make clear what is included: removal where needed, repairs, preparation, the proposed finish, protection of surrounding areas and waste removal. It should also identify anything outside the scope, such as gutter repairs or defects that need attention before rendering can begin. Clear information at this stage avoids surprises later.
Looking after newly rendered walls
Fresh render needs appropriate curing time before it is exposed to heavy cleaning, painting or alterations. Follow the advice given for the specific finish, as drying times vary with the product and weather.
Once cured, keep gutters and downpipes in good condition, trim back plants that sit against the wall and deal with cracks or damaged sealant promptly. Gentle cleaning may be suitable for some finishes, but aggressive pressure washing can damage the surface or force water into weak points. If staining or algae returns, find the cause rather than repeatedly treating the visible mark.
For homeowners and landlords in Essex, a site assessment is the most reliable way to decide whether a wall needs a repair, a new coating or full removal and re-rendering. Lee Crane Plastering incorporating Eco Corkspray Solutions can assess the existing finish and explain the practical options in plain terms.
The best exterior finish is not necessarily the cheapest or the smoothest on day one. It is the one applied to a properly prepared wall, detailed carefully around every opening and chosen to suit the property for years of British weather.