
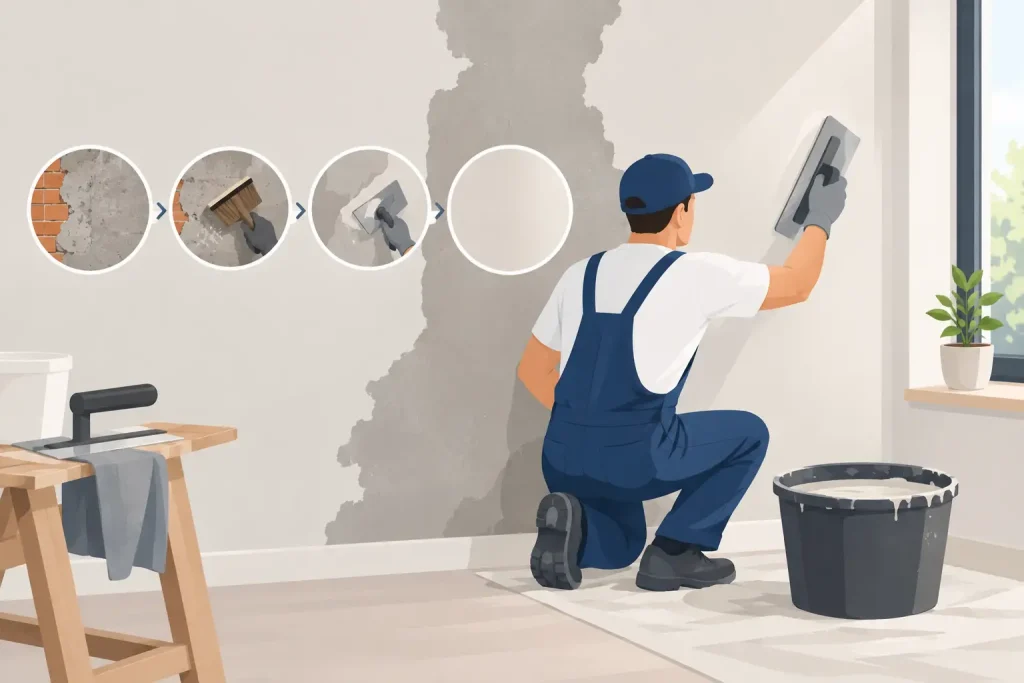
A newly plastered wall should look simple when the work is finished: flat, clean, smooth and ready for decorating. Getting there is rarely simple. The residential plastering process explained properly starts well before the plaster is mixed, with an honest assessment of the surface underneath. Skipping that stage is how cracks, blown areas, uneven lines and poor finishes return far sooner than they should.
For homeowners and landlords, understanding the sequence helps you compare quotations, prepare rooms properly and know what a professional finish should look like. Every property is different, particularly older homes where previous repairs, movement and layers of old decoration can affect the job.
The Residential Plastering Process Explained Step by Step
1. Inspecting the walls and agreeing the right repair
A plasterer first needs to establish what they are working on. This means checking whether the existing surface is sound, whether there are hollow or loose areas, and whether cracking is cosmetic or linked to movement. Damp staining, damaged corners, old textured coatings, failed repairs and uneven masonry all need attention before a finish coat is considered.
The right approach depends on the condition of the wall or ceiling. A sound surface may only need preparation and a skim coat. A badly damaged area may need loose material removed, repairs to the background and fresh boards fixed in place before plastering begins. Where a ceiling has sagged or been affected by a leak, simply covering the problem is not a proper repair.
This inspection is also when room access, furniture protection, drying time and the finish required should be discussed. Clear expectations at the start prevent disruption later.
2. Protecting the room and preparing the surface
Good plastering is tidy work, but it is still wet, messy work. Floors should be covered, furniture moved or protected, and fittings such as radiators, sockets, curtain poles and light fittings considered before work starts. A careful set-up saves time at the end and reduces the risk of damage to surrounding finishes.
Surface preparation is where the quality of the job is often decided. Wallpaper, loose paint, flaky coatings and unstable plaster must be removed. The wall is then cleaned of dust and debris, while cracks may be opened out and repaired rather than merely filled at the face.
Very smooth or low-suction surfaces often need a suitable bonding agent so the plaster can adhere correctly. Highly absorbent backgrounds may need controlled preparation to stop them pulling moisture from the plaster too quickly. If the background takes water at an uneven rate, the plaster can become difficult to work and the final finish may suffer.
3. Repairing the background and fitting boards where needed
Plaster needs a firm, stable base. If sections have blown, they are cut back to solid material. Holes, chases from electrical work and deep damage are repaired in stages, allowing the material to set properly rather than trying to force too much into one pass.
Where plasterboard is required, it must be securely fixed, level and correctly jointed. Board edges, corners and reveals need particular care because these are the places where movement and knocks tend to show first. Metal corner beads are commonly fitted to external corners to form a straight, durable edge.
Mesh reinforcement may also be used over vulnerable cracks, joints or mixed backgrounds. It cannot solve structural movement, but it can help control minor surface cracking when used as part of a suitable repair. A professional will be upfront if a crack needs further investigation rather than promising that plaster alone will make it disappear permanently.
4. Applying the base coat or bonding coat
Not every job needs a base coat. On flat, sound plasterboard or existing plaster that has been correctly prepared, a skim finish may be enough. On uneven masonry, repaired sections or areas where material has been removed, a backing coat is often needed first to rebuild the surface.
The aim is not simply to fill the wall. The plasterer works to create a reasonably flat and true background, checking corners, window reveals and the transition to adjoining walls. If this stage is rushed, the final skim coat has to work too hard to hide faults that should have been corrected earlier.
This is one of the main reasons quotations can vary. A room described as “a quick skim” may turn out to need substantial preparation once old finishes are removed. The honest solution is not always the cheapest one, but it is usually the one that gives a finish worth decorating.
5. Skimming for a smooth, even finish
Skimming is the stage most people associate with plastering. A thin finishing plaster is applied in coats and worked as it firms up. Timing matters. The material must be trowelled at the right point in the setting process to remove lines, close the surface and leave an even finish.
A skilled plasterer is constantly reading the wall. Temperature, ventilation, background suction and room size all affect how quickly plaster sets. On a warm day, sections may firm up faster than expected. In a cooler room, the process can take longer. There is no sensible benefit in rushing it.
The finished surface should be smooth and consistent, with clean lines around sockets, windows, doors and corners. It should not be polished to a glass-like sheen, as this can make paint adhesion more difficult. Minor trowel variation can be normal, but visible ridges, dips, rough edges and pronounced joint lines are not the standard a customer should accept.
6. Drying the plaster properly
Fresh plaster needs time to dry naturally. A room that has just been plastered will often look darker at first, then gradually turn lighter as moisture leaves the surface. Drying times vary with thickness, weather, airflow and the condition of the building, so there is no reliable one-day rule.
Gentle ventilation is usually helpful. Opening windows when conditions allow and keeping the room at a normal, steady temperature supports drying. Blasting the room with intense heat can dry the surface too rapidly while moisture remains beneath, which is not ideal for a durable result.
Before decorating, wait until the plaster has dried evenly and appears consistently light in colour. Applying paint too early can lead to patchiness, poor adhesion or trapped moisture. Patience at this point protects all the work that has come before it.
7. Painting and finishing after plastering
New plaster should normally receive a mist coat first. This is a suitably diluted first coat of water-based emulsion that soaks into the surface and provides a sound base for further coats. It is different from applying a thick, standard paint straight from the tin.
Once the mist coat is dry, the wall can be painted with the chosen finish. Any small settlement around old cracks or joins should be dealt with carefully, but avoid sanding aggressively or filling the whole wall unnecessarily. A properly plastered surface should need very little correction before decoration.
If other trades are due to work in the room, it is worth planning the order. Heavy electrical work, joinery alterations or late changes to pipework can damage a fresh finish and create avoidable patch repairs. Good communication between trades keeps the final result clean.
What Can Affect Cost and Timescale?
The size of the room matters, but the condition of the surfaces matters more. A small hallway with damaged walls, awkward stair access and multiple doorways can take more care than a straightforward large room. High ceilings, water damage, poor previous workmanship and extensive preparation will all affect labour and materials.
For this reason, a proper site visit is valuable. It gives the plasterer a chance to identify likely preparation work, explain the options and provide a quotation based on the actual condition of the property rather than guesswork from photographs alone.
A Finish That Holds Up to Everyday Living
Plastering is not just about making a room look newly refurbished for the first week. The real test is whether corners stay sharp, repaired areas remain stable and the walls provide a clean base for years of normal family life, tenants or future decoration.
If you are planning work in Braintree, Chelmsford, Colchester or the surrounding Essex area, choose a plasterer who is willing to inspect the surface, explain the preparation required and allow proper drying time. A neat finish starts with careful groundwork, and that is the part of the job that makes the final wall worth looking at.