
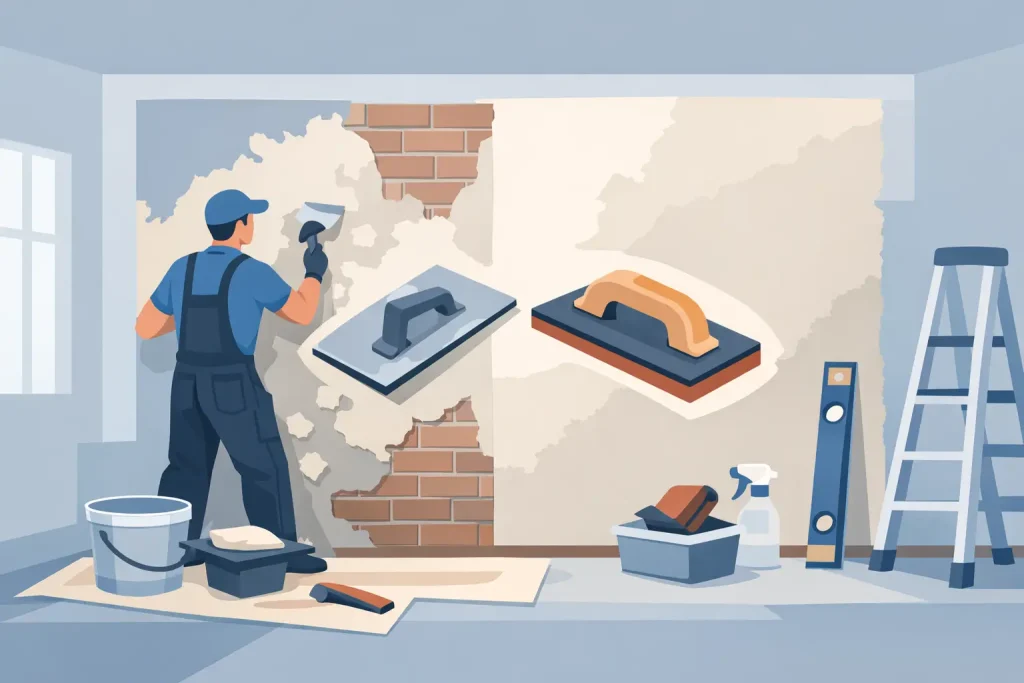
A smooth plastered wall is won or lost before the first coat goes on. If the background is dusty, loose, damp or poorly repaired, even good plaster can fail to bond properly. Knowing how to prepare walls for plastering means dealing with the cause of any issues first, rather than covering them up and hoping for the best.
Preparation is not the glamorous part of the job, but it is where a professional finish starts. The wall needs to be sound, clean, stable and suitably controlled for suction. Get those basics right and the plaster has the best chance of drying evenly, staying bonded and looking sharp once decorated.
Check the wall before you start
Start with a close inspection in good light. Look for cracks, hollow areas, flaking paint, blown plaster, staining, mould and signs of damp. Run your hand over the surface. If it leaves dust on your palm, feels sandy or sheds material when lightly scraped, it needs attention before plastering.
Tap the existing plaster in several places with the handle of a tool. A solid background sounds firm, while loose or blown plaster often gives a hollow sound. Small isolated repairs may be suitable for patching, but widespread hollow sections are usually better removed back to a stable edge.
Damp must be resolved before any plastering begins. A stain can be old, but an active problem may come from a leaking gutter, damaged external render, failed sealant, plumbing leak or poor ventilation. Plastering over a damp wall can trap the problem and lead to staining, crumbling or failure later on. The wall should be dry and the source of moisture fixed first.
If you are working on an older property with textured coatings or unknown materials, take care before sanding, scraping or drilling. Where there is any concern about asbestos-containing material, arrange appropriate testing and do not disturb the surface until you know what you are dealing with.
Clear the room and protect the area
Plastering is a wet trade, and good preparation keeps the rest of the property clean. Move furniture out where possible. Anything that must stay in the room should be covered properly and moved away from the walls. Protect floors, window boards, sockets, radiators and door frames with suitable coverings and masking.
Remove pictures, curtain fittings, loose fixings and wall-mounted accessories. Take faceplates off sockets and switches only if it is safe to do so, with the electrical supply isolated where required. Do not plaster around loose back boxes or damaged electrical fittings. They should be made secure first.
It is also worth deciding where new sockets, lights, shelves or radiators will go before plastering. Chasing out freshly plastered walls for electrical work soon after creates unnecessary mess and repair work.
Remove anything that will stop the plaster bonding
The plaster needs a firm surface to grip. Loose wallpaper, peeling paint, failing filler and flaky old plaster all need to come off. Do not assume a painted wall is ready simply because it looks flat. Gloss, vinyl silk and other low-suction painted finishes can prevent a proper bond unless they are correctly prepared.
Wallpaper should be fully stripped, including the old adhesive. Soaking and scraping is often more effective than trying to sand it off dry. Residue can react with moisture in the plaster or create weak areas between the wall and the new finish.
For paint, the approach depends on its condition and type. Loose paint must be scraped back. Sound but glossy paint normally needs to be cleaned, abraded and treated with an appropriate bonding product. A wall with several coats of unstable paint may need stripping back much further. There is no single answer for every surface, which is why an inspection matters.
Brush down bare masonry and remove all dust, debris and loose mortar. Vacuuming the wall after scraping is a simple step that makes a real difference. Plaster should never be applied over a dusty surface and expected to hold.
Repair cracks, holes and damaged areas
Cracks need more than a quick skim of filler if they are to stay repaired. First establish whether they are minor surface cracks or a sign of movement. Fine, stable hairline cracking is usually straightforward to rake out slightly and fill. Wider cracks, cracks that keep returning, or cracks around openings may need closer investigation before plastering.
Open out loose edges around cracks and holes, then remove dust. Fill deeper defects in suitable stages rather than trying to force a thick layer of material into one application. Very deep holes, missing sections of plaster or damaged corners may require a backing repair before the finishing coat is applied.
Where different materials meet, such as a blockwork repair next to existing plasterboard, reinforcement may be needed to reduce the risk of cracking along the joint. Metal corner beads should be fitted straight and securely where external corners need protection and a crisp line.
Allow repairs to set properly. Plastering over material that is still soft or overly wet can lead to movement, uneven drying and a poor finish.
Control suction before plastering
Suction is how quickly the wall pulls moisture from fresh plaster. This is one of the most important parts of preparing a wall. If the background is too dry and porous, it can draw water from the plaster too quickly. The plaster then tightens before it can be worked properly, making it harder to achieve a smooth finish and potentially weakening the bond.
Bare blockwork, old backing coats and some masonry are often highly absorbent. These surfaces may need to be lightly dampened or sealed with the correct primer for the plaster system being used. The aim is not to soak the wall until water runs down it. It is to create an even, controlled surface so the plaster dries at a sensible rate.
Low-suction backgrounds need a different approach. Dense concrete, smooth painted walls and other sealed surfaces usually require a grit-based bonding coat rather than a simple seal. This gives the plaster a mechanical key to adhere to. Applying finish plaster directly onto a smooth, non-absorbent wall is a common reason for later debonding.
Follow the product instructions on dilution, drying times and coverage. Using too much primer, applying it unevenly or plastering before it is ready can cause just as many problems as using none at all.
Make sure the wall is flat enough for the intended finish
A skim coat improves the appearance of a wall, but it is not designed to correct major dips, bulges or out-of-plumb surfaces. Check the wall with a long straightedge or level. Mark proud areas and deep hollows so you know what needs taking back or building out.
Small imperfections can often be dealt with during the plastering process. Larger variations may need a proper backing coat, patching work or boarding before the final finish. Trying to hide a severely uneven wall under a thin coat usually results in a wavy surface that becomes obvious once light falls across it.
This is especially relevant around window reveals, door linings and room corners. A neat finish depends on straight lines and consistent thickness, not just a smooth-looking centre section of wall.
Get the room conditions right
Fresh plaster needs reasonable conditions to set and dry. Avoid plastering onto frozen walls, very cold surfaces or walls exposed to continual moisture. Excessive heat and strong draughts can also make plaster dry too quickly, while a cold, unventilated room can slow drying considerably.
Open windows for gentle ventilation where practical, but do not create a wind tunnel. Avoid blasting fresh plaster with heaters, as rapid drying can increase the risk of cracking and leave an uneven result. Once the wall has dried naturally, it will usually turn from a darker shade to a consistent pale colour.
Do not paint new plaster too soon. It needs to be fully dry before decoration, and drying time varies with wall thickness, room temperature, ventilation and the time of year. A moisture meter can be useful where timings are tight, particularly on larger refurbishment work.
When professional preparation is the better option
Basic preparation is manageable for a small, sound wall. The job becomes less straightforward when there is damp, extensive cracking, failing old plaster, heavily painted surfaces or a large area that needs to be kept level. Those are the situations where proper assessment saves money on repeat repairs.
At Lee Crane Plastering, preparation is treated as part of the plastering job, not an afterthought. For homeowners and property managers across Essex, that means identifying what the wall needs before work starts and leaving a clean, dependable surface ready for decoration.
A wall prepared properly gives the plasterer something solid to work with. It also gives you a finish that stays smooth, looks right in changing light and does not leave you dealing with avoidable repairs a few months down the line.