
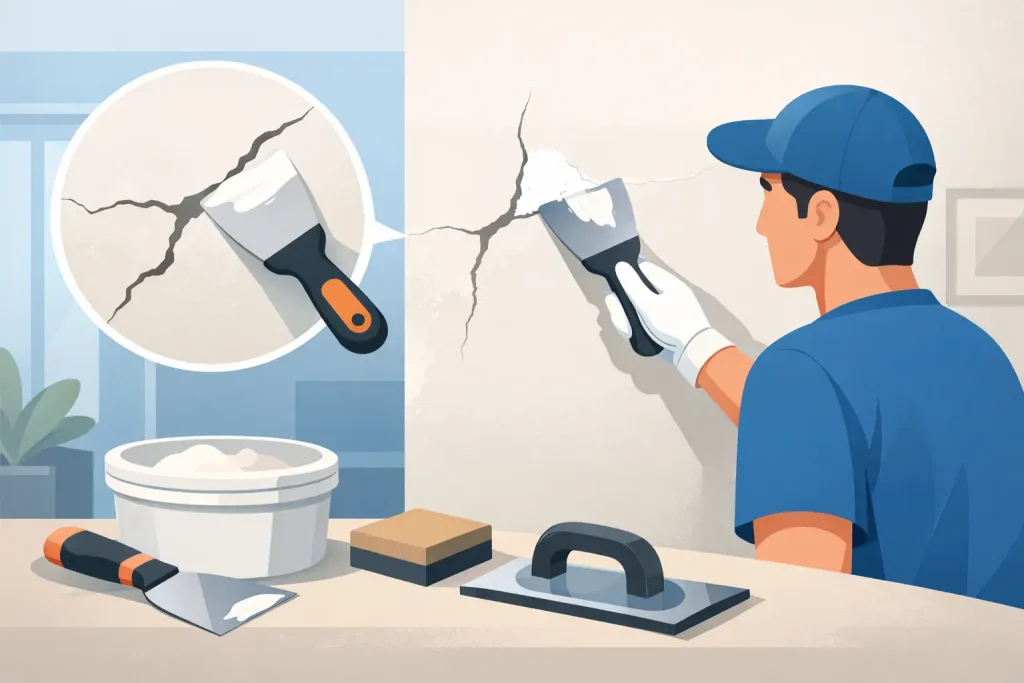
A crack that has appeared along a wall or ceiling is easy to dismiss, especially if it is hairline thin. But knowing how to patch plaster cracks properly is the difference between a repair that disappears after decorating and one that opens up again a few weeks later. The filler matters, but the preparation and the cause of the crack matter more.
Most fine cracks are part of normal movement in a property. Plaster, timber, and different wall materials all expand and contract slightly through the seasons. Settling can also cause minor cracking, particularly around doors, windows, ceilings, and old repairs. The job is usually straightforward, provided the background is sound and the crack is not a sign of a more serious issue.
Check the crack before you start
Start by looking at its width, length, and location. A short, fine crack in an otherwise solid wall is generally a cosmetic repair. A crack that runs diagonally from a door or window opening, is noticeably wider at one end, or keeps returning may point to movement in the building rather than a failed plaster finish.
Press gently along both sides of the crack. If the plaster feels firm and does not move, the repair can normally be tackled locally. If it sounds hollow, crumbles at the edges, or lifts away from the wall when pressed, simply filling the visible line will not last. Loose material needs removing back to a solid edge before the area is repaired.
Ceiling cracks deserve the same care. A straight crack along a plasterboard joint can be caused by failed joint tape or slight movement in the ceiling. A ceiling that is sagging, damp, or soft should be assessed before any cosmetic repair is attempted. Never patch over an active leak or water damage. Find and fix the source first, then allow the area to dry fully.
It is sensible to take a dated photograph of a crack before repairing it. If you are unsure whether it is changing, mark the ends lightly in pencil and check it over the following weeks. Movement that is clearly worsening calls for professional advice before plastering begins.
What you need to patch plaster cracks
For a typical small crack, you will need a scraper or filling knife, a utility knife, fine and medium-grade abrasive paper, a dust brush or vacuum, suitable filler, and a wider finishing knife. For cracks that are more than a fine hairline or that have previously been filled, self-adhesive scrim tape is a worthwhile addition.
Use a decent quality powder filler or ready-mixed fine surface filler suited to internal plaster. Powder fillers are often useful for deeper repairs because they can be mixed to the thickness required and built up in layers. Ready-mixed products are convenient for shallow finishing work, but they can shrink if applied too heavily.
Do not be tempted to use a large bead of decorator’s caulk in a plaster crack. Caulk has its place around joinery and along small gaps where flexibility is useful, but it is not a proper repair for a crack through a wall or ceiling surface. It can leave a soft line that shows through paint and often makes a clean finish harder to achieve.
How to patch plaster cracks step by step
Open the crack slightly
This sounds counterproductive, but a narrow V-shaped opening gives the filler something to grip. Run the point of a utility knife or scraper carefully along the crack to remove weak edges and create a shallow channel. There is no need to cut deeply into the wall. The aim is to remove friable material, not to make unnecessary damage.
Brush or vacuum out all loose dust. Filler applied onto dusty plaster may look acceptable at first, but it has little chance of holding properly. If the background is very dry and dusty, a light wipe with a barely damp sponge can help, provided the surface is allowed to dry before filling.
Reinforce wider or recurring cracks
A hairline crack in firm plaster may only need filling. For anything wider, longer, or previously repaired, apply scrim tape over the opened crack. The tape helps spread minor movement across a wider area instead of concentrating it along one filled line.
Keep the tape straight and press it down firmly. If it is lifted, creased, or poorly bonded at the edges, it will show through the finished surface. Paper tape can also be used, but it needs bedding into joint compound correctly. For most small domestic repairs, self-adhesive scrim is the simpler option.
Fill in thin coats
Press filler firmly into the crack with a small filling knife, working across the crack rather than simply dragging material along it. This helps force the filler into the opening and reduces trapped air. Once the crack is filled, use a wider knife to feather the repair out onto the surrounding plaster.
Avoid trying to finish a deep repair in one heavy coat. Thick filler can shrink, crack, or take much longer to dry through. Apply the first coat slightly below the finished wall level if the crack is deep, then add a second coat once it has set as directed by the manufacturer.
For a taped repair, apply enough compound to cover the tape fully, then feather the edges wider than you think you need. A broad, shallow repair is far less likely to show after painting than a narrow raised strip down the wall.
Sand carefully and inspect in good light
When the filler is completely dry, sand it lightly until it blends with the surrounding surface. Do not sand aggressively, particularly on older plaster, as this can roughen the wall around the repair and create more work.
Run your hand across the area, then inspect it from the side in natural daylight or with a work light held at an angle. This reveals ridges, hollows, and knife marks that can be invisible when viewed straight on. Apply a final skim of fine filler if needed, allow it to dry, and sand again.
Prime and decorate the repaired area
Fresh filler is more porous than painted plaster, so it can absorb paint differently and leave a dull patch known as flashing. Apply a mist coat or a suitable primer to the repaired section before your finishing coats. This evens out suction and gives the topcoat a more consistent appearance.
If the wall has been painted for several years, touching in a small patch may still look different due to fading and changes in sheen. For the neatest result, paint from corner to corner or across the whole wall. Ceilings are particularly unforgiving, as light often catches every small change in texture.
Common mistakes that make cracks return
The most common mistake is filling directly over a crack without removing loose material first. The filler then bonds to dust or weak plaster rather than a stable background. Another is applying too much filler at once, which causes shrinkage and leaves the repair low or cracked after drying.
Skipping tape on a larger crack can also lead to a short-lived result. Tape will not solve ongoing structural movement, but it makes a real difference where the plaster is sound and the crack is due to ordinary seasonal movement or a weak previous repair.
Poor sanding is the final giveaway. A repair can be solid yet still look poor if it has hard edges or a raised centre. Take the time to feather the filler wide and check it in side light before reaching for the paint.
When a plasterer is the better option
Small cracks are well within reach for a careful homeowner, but some repairs need more than filler. It is worth bringing in a plastering specialist if there are widespread cracks, blown or hollow areas, damaged corners, recurring ceiling cracks, or a surface that needs blending across a larger section.
A professional repair is especially useful where a wall will be painted in a strong side light, finished in a dark colour, or needs to match an otherwise smooth surface. These conditions show every imperfection. At Lee Crane Plastering, repairs are assessed from the background outward, so the finished surface is not just made to look better for the day, but prepared to hold up properly.
A neat plaster repair should disappear into the room once it is painted. Give the crack the right preparation, use thin controlled coats, and deal with any cause of movement before filling it. That patience is what produces a finish worth decorating over.