
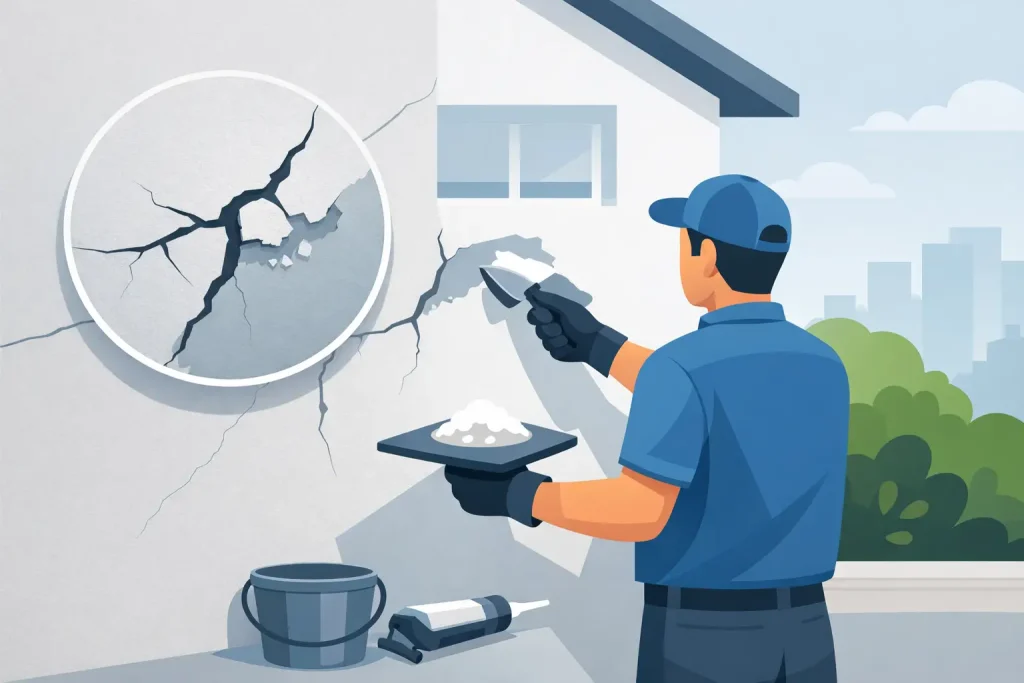
A crack in external render is rarely just an appearance issue. It can let rainwater behind the finish, stain the wall, loosen surrounding areas and, if ignored, turn a small repair into a larger job. Knowing how to stop render cracking starts with identifying why the crack appeared. Filling it without dealing with the cause may make it look better for a while, but it is unlikely to hold.
External walls move, get wet, dry out and face constant temperature changes. Good rendering work allows for the condition of the wall beneath and is applied in the right conditions, using compatible materials. When one part of that process is missed, cracking is often the result.
First, work out what type of crack you have
Not every crack means the same thing. A fine, shallow line in an otherwise firm render finish calls for a different repair from a crack that is wide, stepped or accompanied by hollow-sounding areas. Before any work begins, look closely at the width, direction and location of the crack.
Hairline cracking is often limited to the surface finish. It may be caused by shrinkage as the render dried, rapid drying in warm or windy weather, or an overworked finish. These cracks can still allow moisture in over time, particularly on exposed elevations, but they do not always mean the render has failed completely.
Vertical or diagonal cracks can point to movement in the wall or at a change in material, such as where an extension joins the original property. Cracks around windows, doors and corners are also common because these are areas where stress is concentrated. If a crack runs through the render and masonry, keeps reopening or has become noticeably wider, it needs proper investigation rather than a cosmetic patch.
Look out for these warning signs alongside cracking:
- Render that sounds hollow when tapped, or has started to bulge or come away from the wall.
- Damp marks, algae growth or staining below a crack, especially after heavy rain.
- Loose sealant around windows, pipes, vents and other details in the same area.
- Cracks in internal walls that line up with the external damage, or doors and windows that have begun sticking.
Where there is any concern about structural movement, ask a suitable building professional to assess it before arranging render repairs. New render over an actively moving wall will crack again.
The common reasons render cracks
The condition of the background is a major factor. Old, loose or contaminated render is not a sound base for a new coat. Brickwork can also hold moisture, have damaged joints or be uneven enough to make the applied thickness inconsistent. A thick area of render dries and cures differently from a thin one, increasing the risk of shrinkage and stress.
Poor preparation is another regular cause. Surfaces need to be clean, stable and suitably prepared for the chosen system. Dust, flaking paint, weak patches and poor adhesion around details can all lead to failure. Mixing incompatible materials is equally risky. An exterior coating, repair mortar and render system need to work together, not simply be whatever is to hand.
Application conditions matter more than many people realise. Render should not be applied to a saturated wall, during frost, in very hot direct sun or where strong wind will pull moisture out too quickly. Covering and curing work correctly helps it dry at a controlled rate. Rushing between coats, applying them at the wrong thickness or failing to use reinforcement where required can leave a finish looking tidy on day one but prone to cracking later.
Movement is not always a workmanship issue. Properties naturally expand and contract through the seasons. Timber frames, concrete lintels, extensions, bay windows and junctions between different building materials can all move at different rates. Good detailing, suitable mesh reinforcement and correctly formed movement joints help manage this. They cannot compensate for serious ongoing movement in the structure itself.
How to stop render cracking from getting worse
The first practical step is to keep water out. Check gutters, downpipes, roof edges, window sills and seals above the damaged area. A blocked gutter overflowing onto one section of wall can saturate the render repeatedly and make a minor defect much worse. Repairing the crack while leaving the water source untouched is false economy.
Avoid painting straight over a crack with ordinary masonry paint. It may hide the line temporarily, but it does not stabilise loose render or bridge meaningful movement. Thick coatings can also make later diagnosis more difficult. Likewise, do not force generic filler into a deep crack unless you know the surrounding render is sound and the product is suitable for exterior use.
For a small, stable hairline crack, the repair may involve opening and cleaning the crack where necessary, applying an appropriate flexible repair material, allowing it to cure properly and finishing with a compatible exterior coating. The surrounding render must be firm and well bonded. This is a local repair, not a cure for widespread weakness.
Where cracks are wider, recurrent or surrounded by hollow render, the damaged section normally needs cutting back to a solid edge. The exposed background should then be inspected and prepared before a compatible repair system is applied. Depending on the location and the reason for the damage, reinforcement may be needed across the repaired area to reduce the chance of the crack returning through the new finish.
If large areas are affected, patching can become poor value. Multiple repairs may leave visible changes in texture and colour, and can fail again if the original render is tired across the whole elevation. In that case, removing failed material and renewing the finish properly is often the better long-term decision.
Preventing render cracks on new work
Start with a sound wall
A lasting render finish begins before the first coat goes on. Existing loose material needs removing, cracks in the background need assessing, and the wall must be clean enough to achieve proper adhesion. Details around openings, pipe penetrations and roof lines should be planned rather than dealt with as an afterthought.
The right render system depends on the building, the existing wall and the exposure of the elevation. A sheltered wall in good condition does not have the same demands as a property facing driving rain. This is why a site assessment matters. Selecting a material purely on its price or colour range can create problems later.
Use the right reinforcement and detailing
Mesh reinforcement is particularly valuable at stress points, including corners of windows and doors, junctions between materials and repaired sections. It needs to be embedded correctly within the render, not simply laid near the surface. Movement joints should be respected or introduced where the construction requires them. Covering them with a continuous rigid finish is an invitation for a straight crack to appear.
Apply it in suitable weather
Professional rendering work is planned around the forecast as well as the programme. Cold, wet, hot and windy conditions all affect drying and curing. Protective sheeting may be needed, but it is not a substitute for sensible timing. A contractor should be prepared to pause rather than apply material in conditions likely to compromise the finish.
Coats must also be allowed sufficient time before the next stage. Fast work is not necessarily efficient work. The aim is an even, durable finish that has been given the right preparation and curing time, not simply a wall that looks finished by the end of the day.
Consider a more flexible exterior finish
For some properties, particularly where a traditional render finish has repeatedly cracked or requires regular maintenance, a sprayed cork coating can be worth discussing. It creates a textured, flexible exterior finish and can help improve weather resistance while refreshing the appearance of the property. It is not a remedy for structural movement, loose walls or serious damp problems, so those issues must still be resolved first.
The best option depends on the existing surface, the level of exposure and the result you want. A proper assessment should be honest about whether a targeted repair, a new render system or an alternative finish is the sensible route.
If you are in Braintree, Essex or the surrounding area and are unsure what is causing cracks in your render, get the wall checked before water and frost make the damage more expensive. A clear diagnosis and a well-prepared repair will always give a better result than covering the symptoms.